Showing posts with label Dessert. Show all posts

Wednesday, 23 January 2013

Strawberry Kefir Ice Cream

This "ice cream" is a favourite for me and little M. Now, Mr. J likes it, but we love it! We make it ALL the time!! We like it at breakfast, after school, or for dessert.

It's sweet and tangy and fruity... and it's full of nutritious goodness.

I use organic strawberries because conventional strawberries are heavily sprayed and have been shown to contain up to 36 different pesticides including methyl bromide. They are always featured at the top end of the dirty dozen list of the most toxic non-organic food.


Recipe

3/4 cup kefir
1 cup frozen organic strawberries
1 tbs raw honey
6 ice cubes

Any frozen berries work well, we also like blackberries and raspberries.

Method


Drop all ingredients into Vitamix.


 Move speed quickly from 1 to 10. Use the tamper to push ice and berries down until all mixed (about 30 secs). Flip switch to high and run about 30 secs more, until 4 peaks form.


Scoop out with ice cream scoop.

Note: If using a regular blender, you can make the recipe with unfrozen strawberries and once blended put into an ice cream maker until set.

Wednesday, 12 December 2012

Homemade Applesauce

Nothing makes a kitchen smell better than apples cooking on the stove. And it's also about the easiest thing to make.
There's nothin' to it! You'll never go back to store-bought applesauce once you've made your own.

Take out a few apples and chop them into chunks, cubes, whatever.
Remove the core and stems.

I buy organic apples because we eat so many of them, but if you are using regular apples you should peel them first.

This pot contains 3 chopped organic apples.

Put them in a pot on medium heat and add enough water to barely cover them.

Bring them to a gentle boil and let them cook until fork tender, about 10 minutes.

Take them off the heat and let them cool a bit. Then transfer to a blender and pulse a few times to get the consistency you like. (If you had peeled them, you could just mash them with a potato masher right in the pot.)

Finished applesauce.

Note 1: I don't like mine to be too watery, so I lift my cooked apples out of the remaining water with a slotted spoon and transfer to the blender instead of dumping in apples and water together.
(But save that water for soaking grains or nuts!)

Note 2: Its lovely plain, but you could also add a sprinkling of cinnamon before blending.

And that's it.

I'm sure you could put it in a jar or covered dish and it would keep in the fridge for a while... but I have never made any that didn't get eaten up right away!

Monday, 10 December 2012

Baked Pears

I had some ripe pears that I wanted to use up before they became overripe and decided to try baking them.
Lets see how this turns out...

Ingredients:

2 ripe pears

A spoonful of real maple syrup

A sprinkling of cinnamon

A handful of walnuts


Directions:

Preheat oven to 350 F.

Slice pears lengthwise, discard cores and stems.

Place them into a glass pie plate or other cook wear.

Sprinkle cinnamon, drizzle maple syrup, and top with walnuts.

Bake until the pears are tender, approx. 25 minutes.
Here's my ingredients and the pears ready for the oven. That's my baby girl in the background!

Fresh from the oven!

They've just come out of the oven, pipping hot, and smelling beautifully!
Here goes the first bite...  this is really nice!

But the big test -- will my 8-year old like it?

Well, he ate one slice and said it was okay, but didn't want any more.
I'm a little disappointed... but more for Mummy then!

UPDATE: Little M decided to have a bowl of pears before bed after all. He still just classifies them as "okay" though.


Lunch Box Cookies

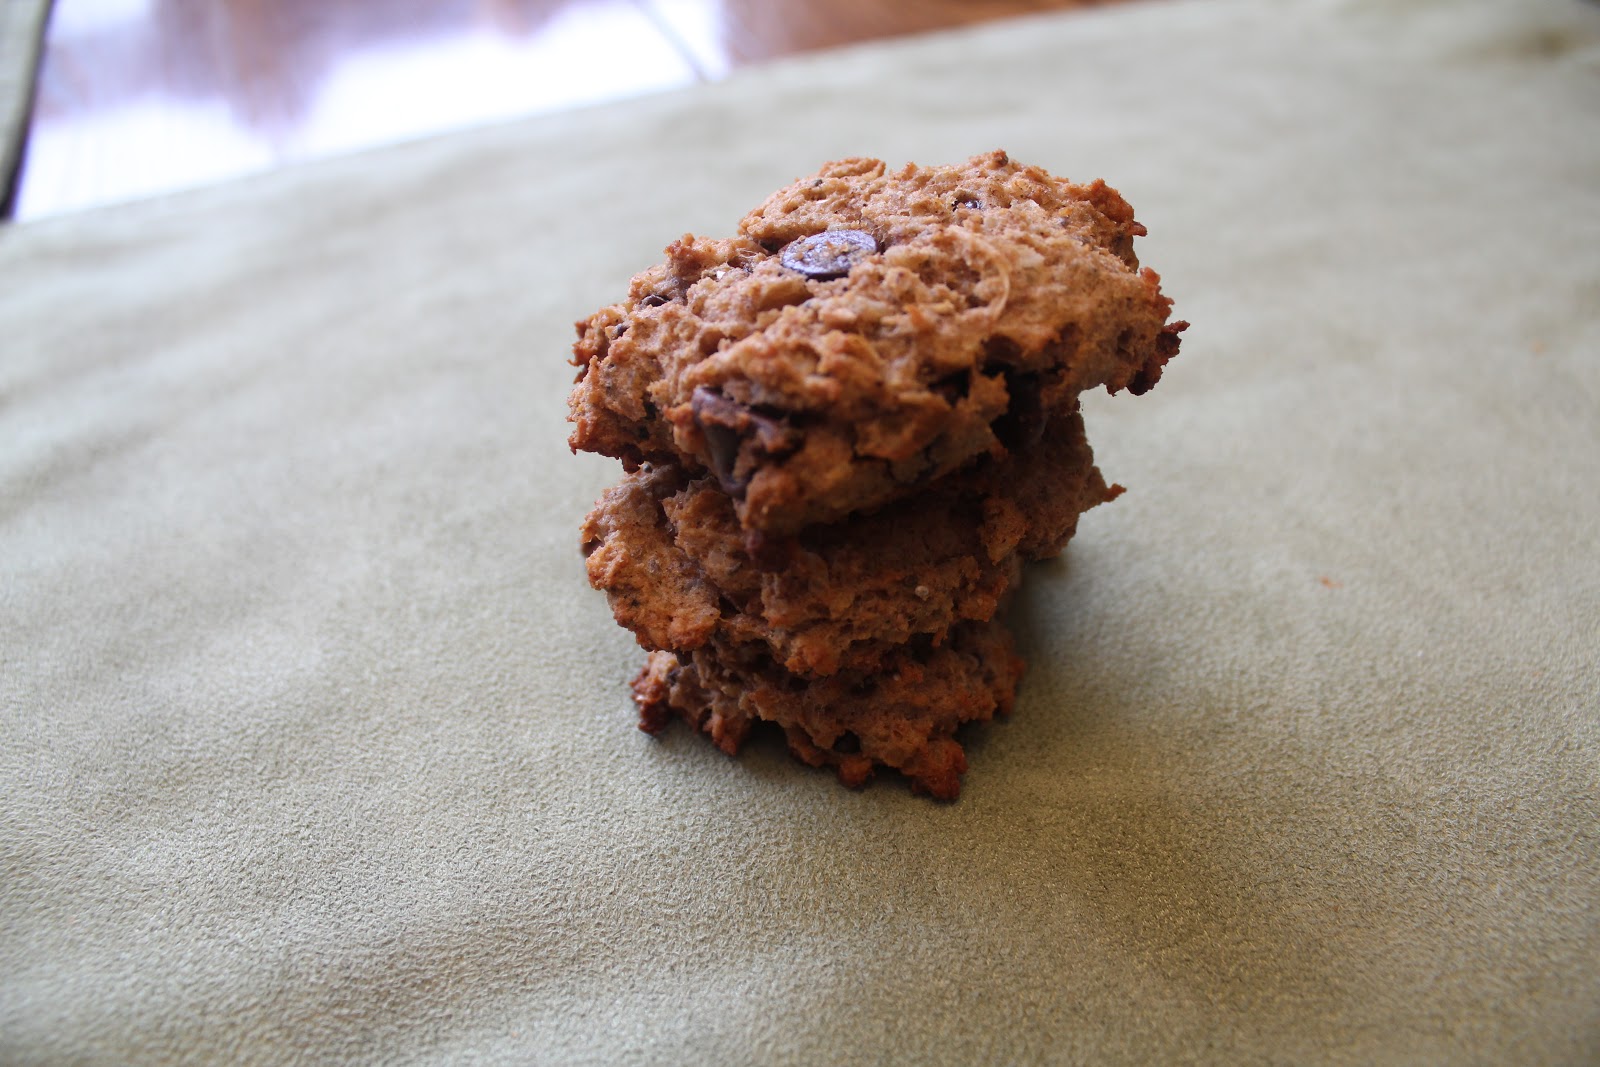
Oatmeal Chocolate Chip Cookies
(Made with Pre-soaked Oats and uses Homemade Applesauce instead of sugar.)

These cookies aren't overly sweet, so they're great for a mid-morning snack. Actually, that's just why I make them... to pack in my son's school lunch box for his mid-morning break. I don't want him hopped up on sugar at school AND I want to send some nutrition and fuel to bridge breakfast and lunch... Enter the low-sugar, nutritious, school lunch box cookie!

This recipe is a modified version of the one found here at Cheeseslave and is inspired by the philosophy of Nourishing Traditions (although I have not yet learned to sprout my own flour).


They contain two things you need to plan ahead for...

1: You'll want to soak your oats. That takes 24 hours.
See Soaking Oats post.

Why soak them? According to Nourishing Traditions author, Sally Fallon, all grains contain phytic acid (and oatmeal is particularly high) which is a substance present in the bran of all grains that inhibits absorption of calcium, magnesium, iron, copper and zinc. Soaking (and also sprouting) helps to neutralize phytic acid.

2: You'll want to make homemade applesauce. Yep, you will.
It's easy to make, it's delicious when it's fresh, and it makes your kitchen smell amazing.
See Homemade Applesauce post.

Now you can go ahead and make your cookies!

Ingredients:

1 1/2 cup applesauce
1 cup butter
1 tsp real vanilla extract
4 eggs

1 cup organic whole wheat flour
1/2 cup coconut flour
1 tbs chia seeds
1 tsp cinnamon
1/4 tsp nutmeg
1 tsp baking soda
1/2 tsp kosher salt

2 1/2 cups of soaked and dried oats
1 cup chocolate chips
1/4 cup shredded unsweetened coconut

 Directions:

Preheat oven to 350 F.


Cream butter and applesauce in mixer. Add vanilla, eggs, beat well.


Mix coconut flour, whole wheat flour, baking soda, chia seeds, cinnamon, nutmeg, and salt in a bowl then add to wet ingredients in your mixer.

This will smell heavenly due to the combination of coconut flour and freshly cooked apples. Seriously.

These are the soaked and dried oats.

Stir in soaked and dried oats, shredded coconut, and chocolate chips.

Mix it all up on low speed.


Drop onto ungreased cookie sheets. Press flat with your fork.

Bake for 15 minutes (check them after 12 in case they are done to your liking then since ovens vary).

Let cool. Lift off with spatula.


Stack carefully into freezer bags and put in freezer. (After scarfing down a few sample cookies!)
I take them out of the freezer as I'm making lunches. They are thawed in time for morning break.

Makes 50 cookies.


 Enjoy!