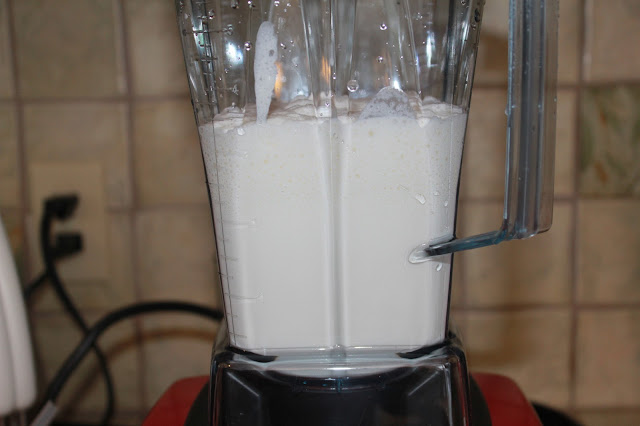
Imagine my surprise to find out that making my own butter is easy. At least it is with modern machinery. All you have to do is pour some cream into a blender, mixer, or food processor, and hit the button to make it spin. Eventually, there's butter in the bowl.
But why would I make it, even if it is easy? It's easier still to grab a block at the grocery store. The main reason is that any toxins present in the milk are generally stored in the fat. That means that your block of butter has most of the toxic chemicals from the cow's milk it came from all wrapped up in a pretty gold package for you to eat. Yum.
Buying organic butter greatly reduces the toxins present, but organic butter is expensive. At least it is in my grocery store (almost $10 a pound). Organic cream is cheaper. Plus, you get the benefits of a jar of fresh buttermilk as a byproduct (hello buttermilk biscuits!) and you get FRESH butter. You can have it salted or unsalted. Finally, you will know that there are no other additives and that the butter is not rancid. (Butter goes rancid easily.)
Ingredients
- organic cream (usually labeled whipping cream or 35% milk fat)
Method
1. Pour the cream into a blender, mixer, or food processor and mix.
I see many people use their Kitchen Aid mixer, but I used my Vitamix. That way, I didn't have to worry about splatter because of the lid. If you are using a mixer, start off slow to avoid splatter and then turn up the speed once it thickens.
Keep mixing, stopping to scrape down sides (or with a Vitamix, use the tamper). At first you will make whipped cream, then it will become very stiff whipped cream, then it will break into pea sized lumps in a milky liquid.
Keep mixing. Eventually the pea sized lumps will stick together in one big ball floating in buttermilk.
2. Pour the buttermilk out.
Keep it in a jar in the fridge until ready to use. Did I mention the buttermilk biscuits?
3. Now you have butter. But... your not quite done yet. You want to "wash" the butter.
Washing the butter is exactly how it sounds. Pour filtered water (or regular tap water) into the bowl and use a spatula to move the butter around in the water. Drain the cloudy water and repeat.
I washed mine 3 times before the water was clear.
Basically you want to push the butter onto the side of your dish, folding and pushing to SQUEEZE out any remaining buttermilk.
Why bother squeezing out the last of the buttermilk? Your butter will spoil quickly if there is buttermilk present. Getting it all out helps it keep longer.
Optional: At this point you can stir in a small amount of sea salt to taste (I didn't salt mine.)
4. Scrape the lump of butter out of the bowl and onto cheese cloth or a clean dish towel.
Twist it up and squeeze gently to remove any last bit of water. (Don't squeeze too hard or the butter will be oozing through the cloth...don't ask me how I know this.)
It will be good for a few days on the counter or a week or more in the fridge. It can also be put in the freezer for many months.
Tip 1: Put it in an air tight dish (I have a locking lid for this glass dish) as butter absorbs odors that surround it.
Tip 2: Buy your cream in the spring and early summer when the grass is fresh (that the cows graze on) and the nutrient quality of the cream is highest. Make lots of butter and store it in the freezer.
This butter is so LIGHT and FRESH. It has a whipped consistency, and a mild, slightly sweet taste.


No comments:
Post a Comment